
 This make has been an idea for a long time, but now it is finally a reality. I got the idea from a picture I saw on Pinterest, but unfortunately I never actually saved the photo... So I freestyled my own.
To make the bracelet I used M4 nuts (from a local hardware shop), 7mm jump rings and a clasp, (mine were from Hobbycraft).
The nuts, and the jump rings both came in a pack of 100, so I had a fair amount to play with, and I do have small wrists. I worked out that the circumference of my wrist is about 170mm. I had tried to work out how many nuts I would need, but it was difficult to take into account the jump rings, and the clasp. So I just started making a chain of nuts and jump rings and trying it on for size. I found out I needed 19 nuts.
The nuts are connected to the nut next to them using two jump rings, so on the main bracelet I had 19 nuts, held together with 36 jump rings, in pairs. The clasp I had can only take one jump ring at the bottom where it needs to be attached. So in one of the end nuts there is one jump ring attaching the clasp.
 I did try out of curiosity, if the clasp would close over one of the nuts, but the clasp I got is too small, the nut will fit in, but the clasp will not close, so I added another jump ring to the other side. So in total there are 38 jump rings on the bracelet.
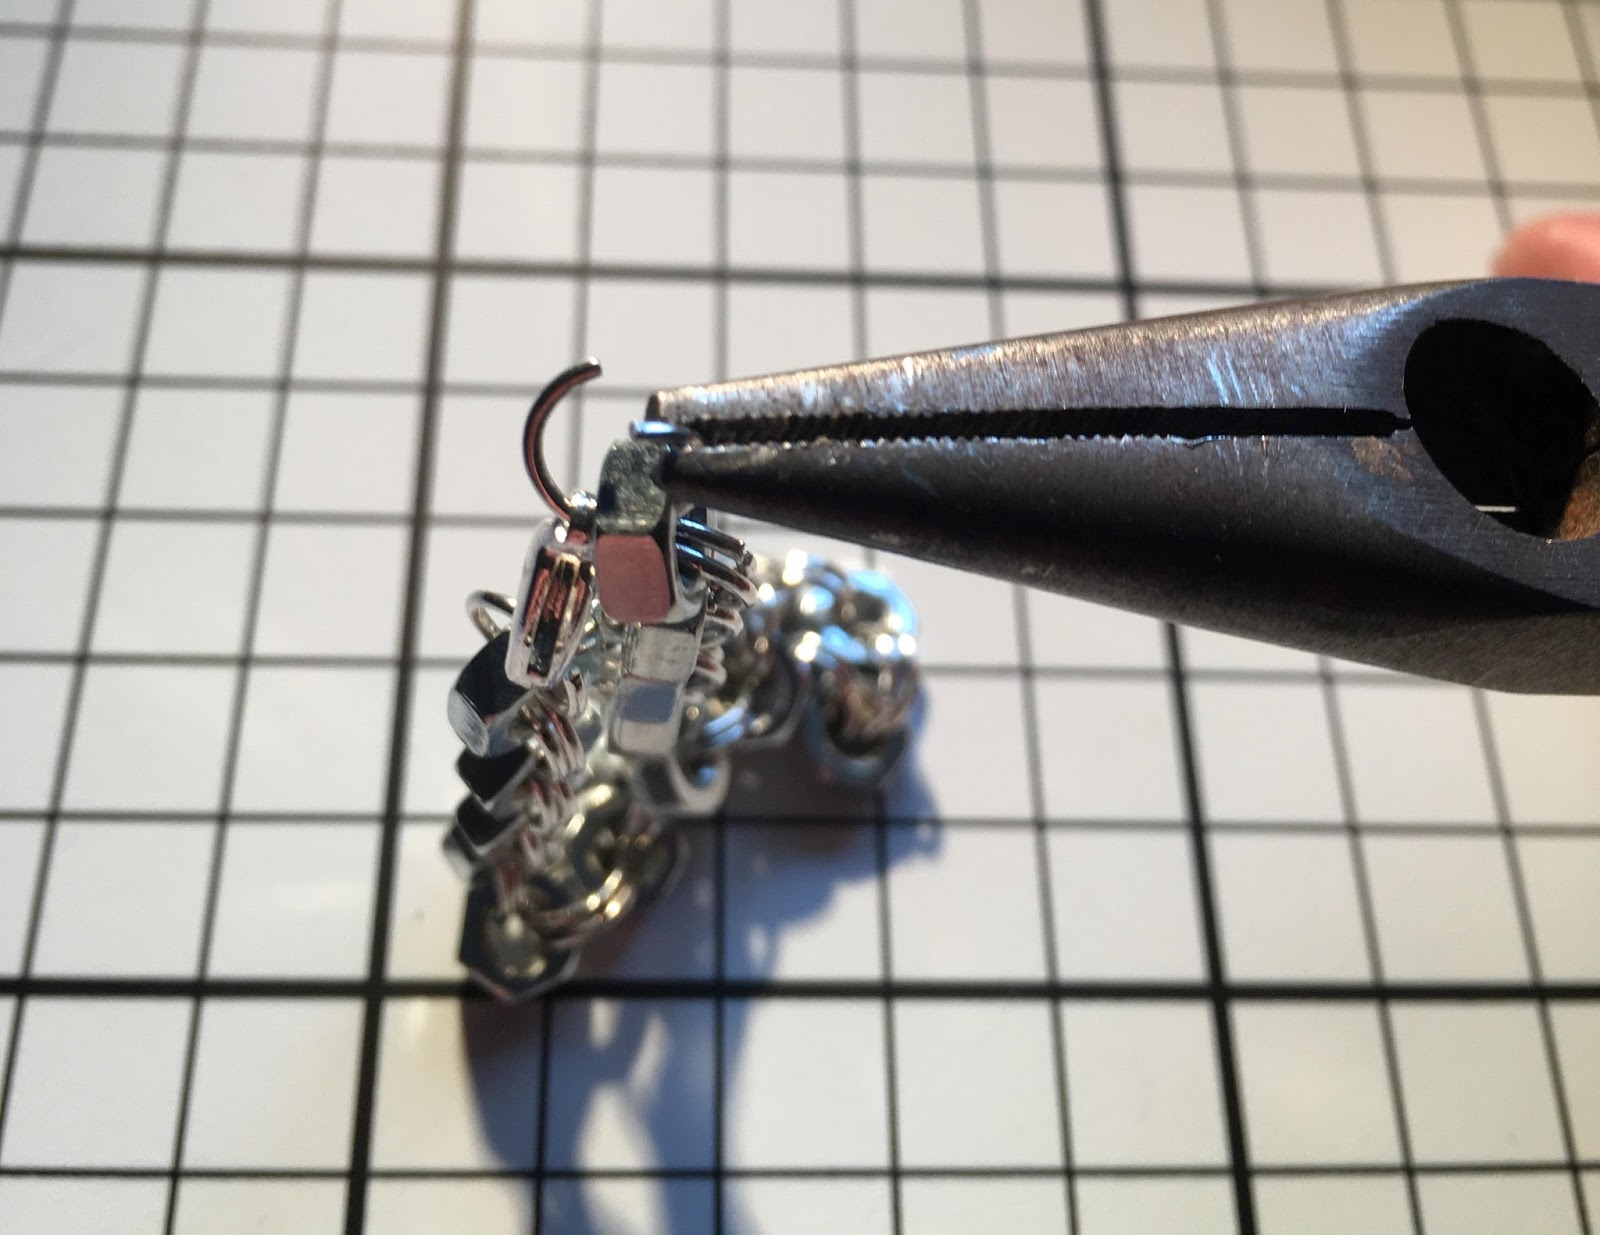
Jump rings themselves are really easy to use, especially if you have a pair of thin nose pliers, some people recommend pliers with round noses, but anything that can help you grip the jump ring will be fine. Grip the jump ring with the pliers, and either using your hand or another set of pliers, twist the ring so that the two ends have seperated. This will allow you to thread things onto the ring, before twisting it back the other way to shut it. Occasionally you will find that there is a small gap between the two ends of the ring once it is closed. To avoid this when I'm twisting the ring back, I apply a force inwards as well, this tends to push the two ends closer together, and does get rid of the gap.
The bracelet is very easy to make, and is pretty much just threading nuts onto jump rings. The bracelet can very easily be made to a size that fits any wrist, or ankle, just by adding and taking away nuts.

Jewelry inspired by engineering, made by an engineer. Absolutely love it!
ReplyDelete